Using the RT DSLR plugin for Final Cut Pro X:
After installing, follow these steps to apply the RT DSLR Title in the Final Cut Pro X timeline:
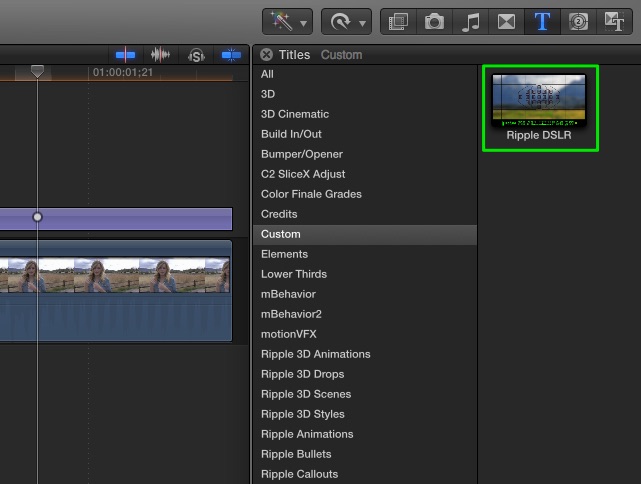
Locate the DSLR plugin in the Custom category of the Titles Browser. Drag the title into the Timeline and place it above your clip.
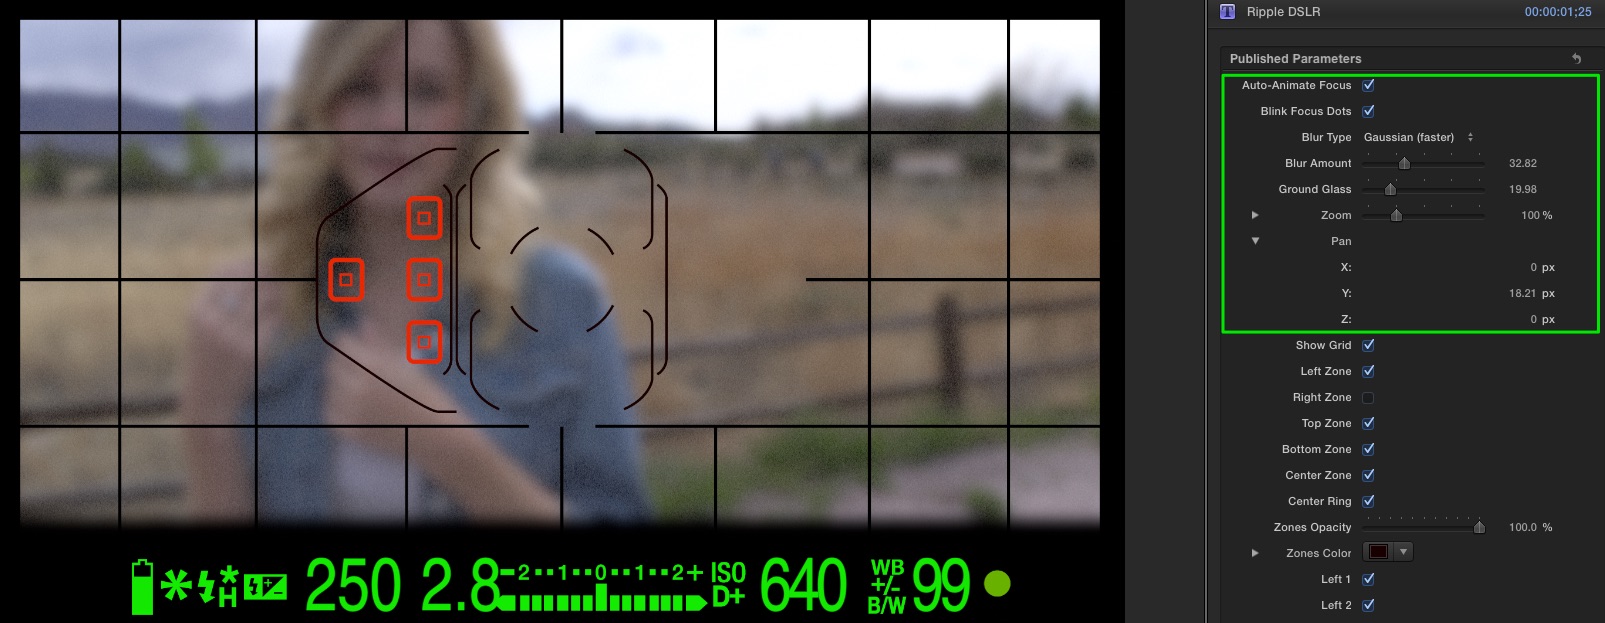
With the Playhead parked over the DSLR title, press Command-4 to open the Inspector. Click the Title button to reveal the parameters controls. The plugin will auto-animate the focus and the focus points that appear over the image. You can change the amount of blur and a ground glass look and even zoom and pan the image within the DSLR viewfinder.
Use the Zone checkboxes to control which focus points appear in the frame. For example, if your subject is framed left, enable only the focus points for the left focus zone.
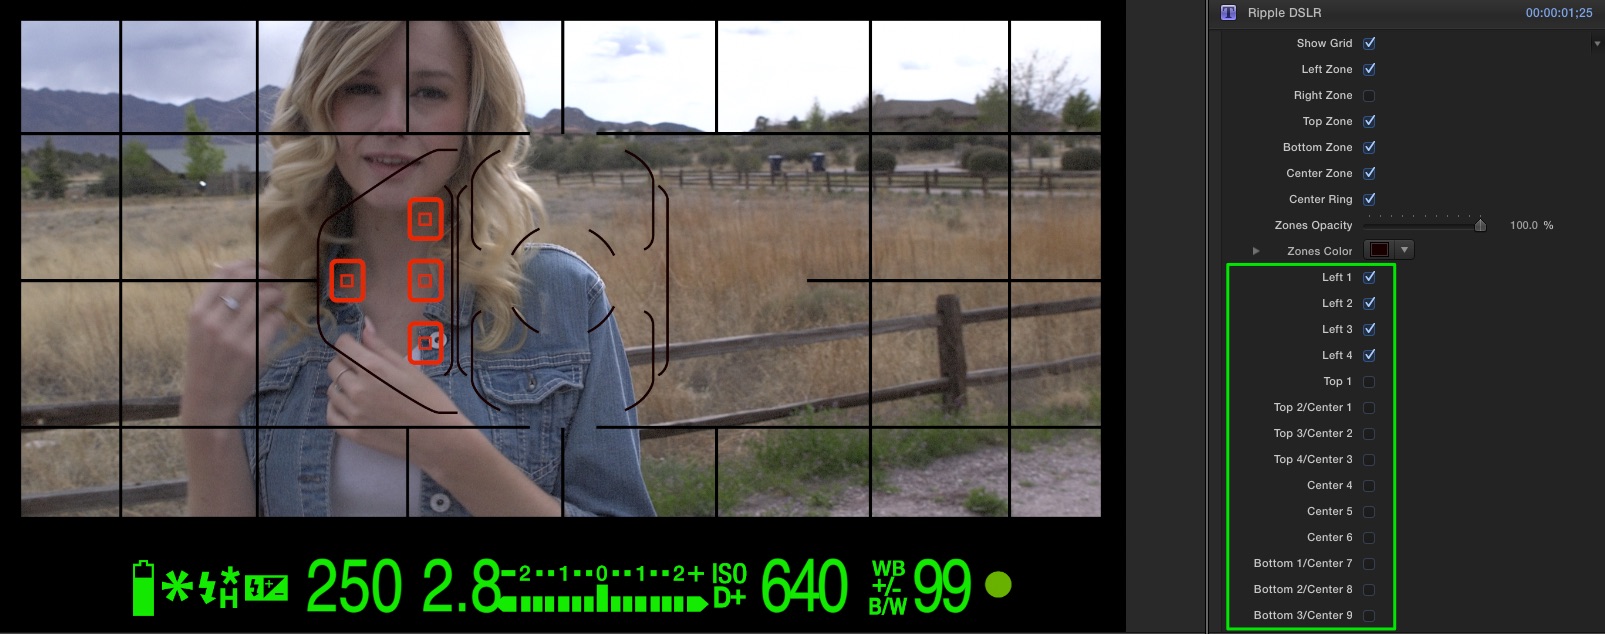
In the lower section of the parameters list, you can control the data readout in the viewfinder. Change the ISO, f-stop, shutter speed, EV scale, color and more. Use these features to mimic actual exposure settings of a DSLR camera.
