We recently had a question about Compositing Blend Modes in Final Cut Pro X. The gist of the question was:
What do each of these modes do?
An excellent question to be sure, and it’s one that provided the impetus for this blog article.
Like the name suggests, Compositing Modes (also called Blend Modes) are settings that mathematically blend pixels from 2 or more video clips or still images. You start with a video clip in the Primary Storyline then connect another video clip above it. With the connected clip selected, you choose a Compositing Mode at the top of the Video Inspector.
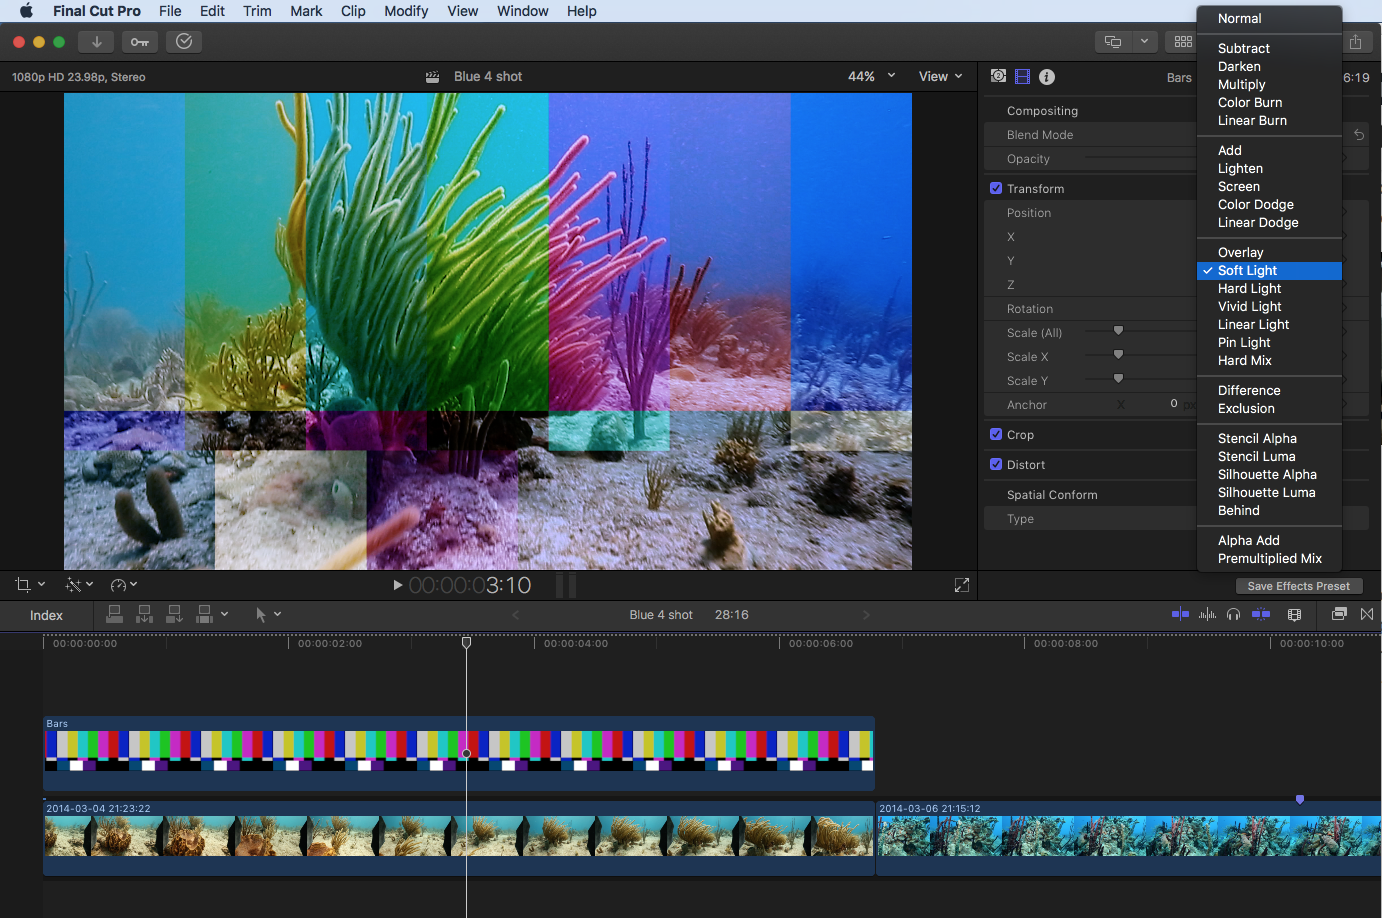
Generally speaking, Compositing Modes are not something I apply very often, and when I do, my approach is to click through every option until I find the one that gives me the look I want. It’s not very scientific, which is why I created this “cheat sheet” of what each blend mode does in order to help me get the results I want more quickly.
Final Cut Pro X has 27 options for how it will blend images together, these are further divided into 6 functional groups.
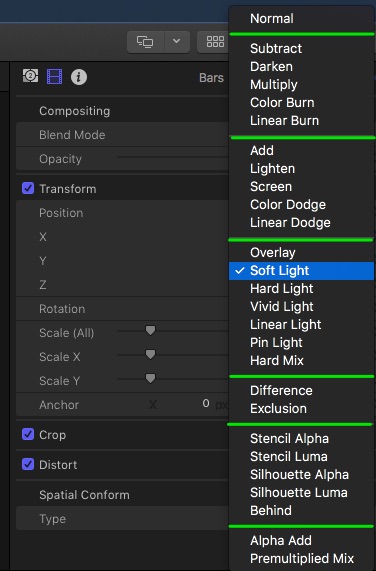
Each group has a general effect of Darkening, Lightening, Modifying Contrast, Inverting, or Masking your images. Each mode uses different mathematical methods for deciding how to modify each pixel in the frame. I’ll start at the top and work toward the bottom of the list.
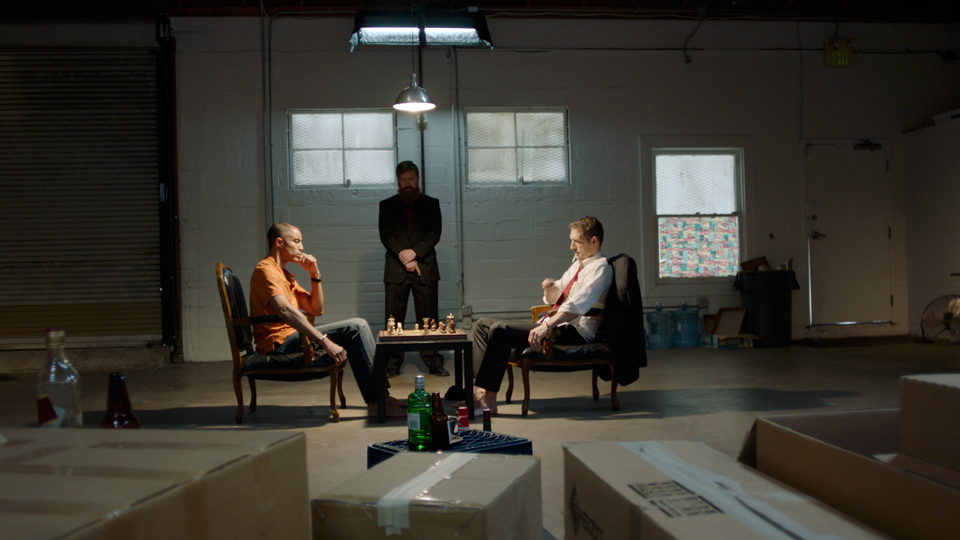
In the examples below I’ll describe each blend mode, and show an example of it in action. For each example I blended a Color Bar Generator over a section of video in Final Cut Pro. In some cases I used a different set of images to better illustrate the final effect. Here are the main images used:
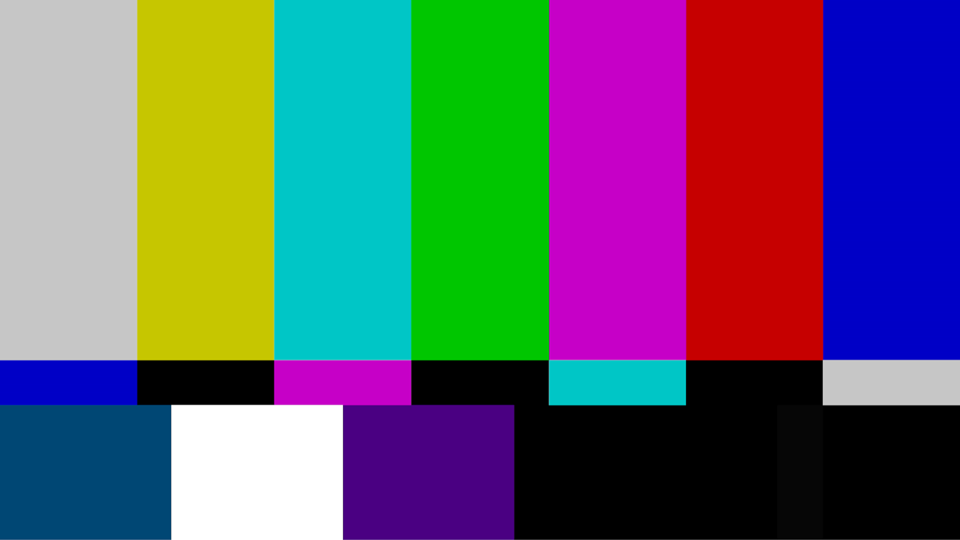
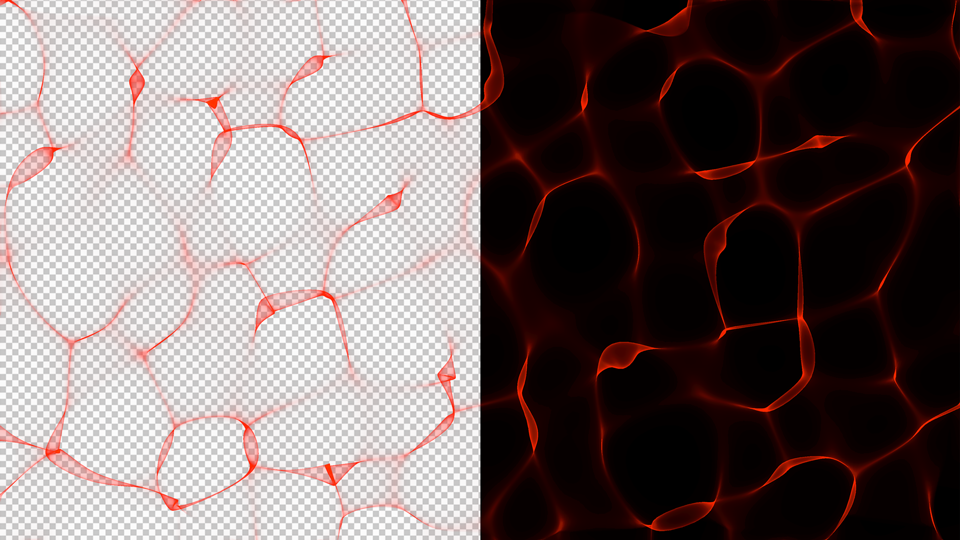
Normal
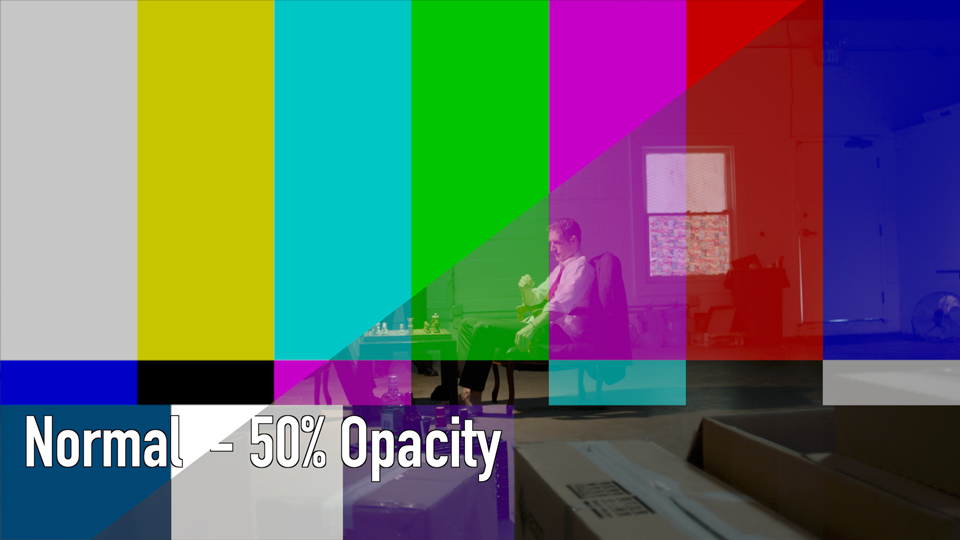
This blend mode doesn’t actually blend the color values with the bottom layer, it just displays the top layer at full opacity. When you lower the opacity of the top layer in the Inspector, you will get a standard cross fade in which pixels from the top image are blended with pixels from the bottom image.
Subtract
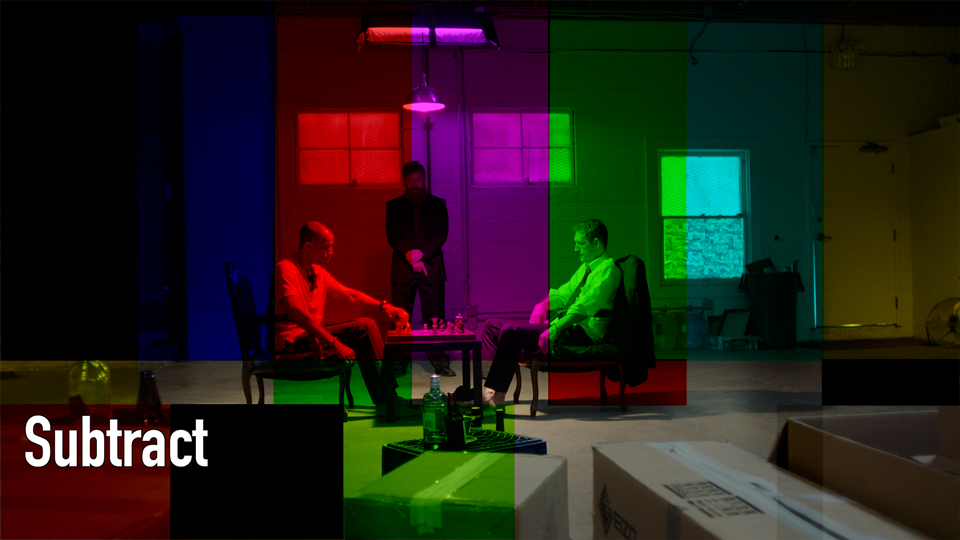
Subtract does what it advertises; the color values of one layer are subtracted from the other layer. This tends to have a net darkening effect. Pixel values can’t fall below zero, so negative numbers are rendered to black.
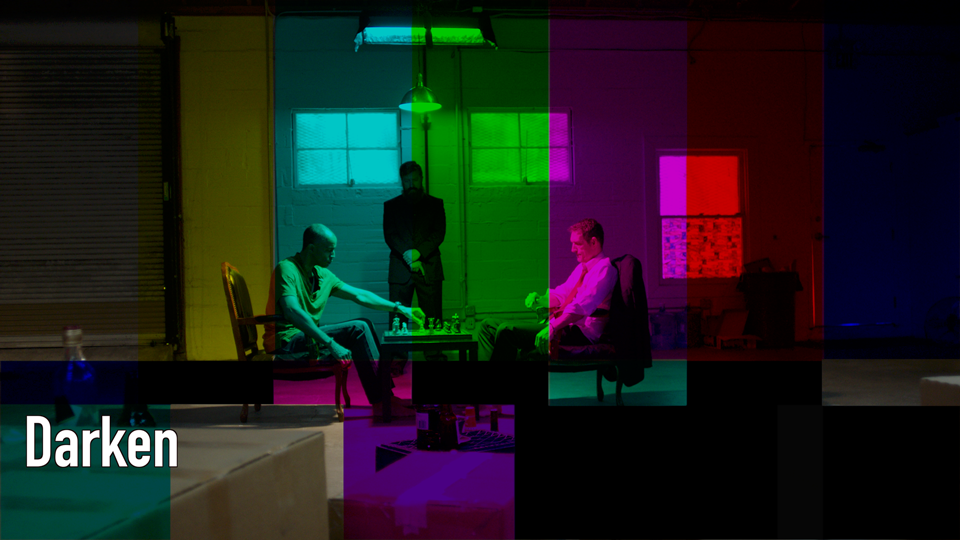
Darken
Darken compares the color values of each pixel from both layers and chooses the one that’s darker.
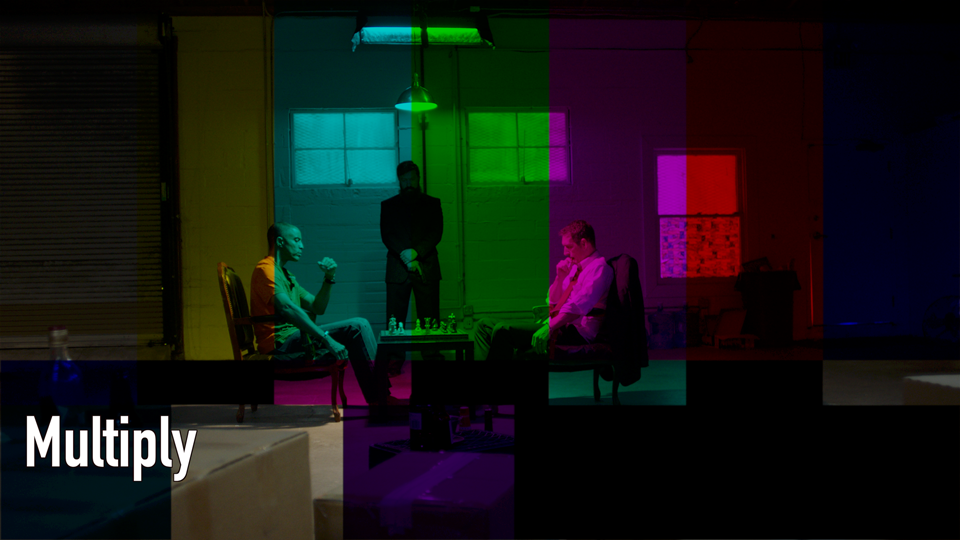
Multiply
Multiply combines every corresponding pixel from the top and bottom layer by multiplying their values. The end result is an image that’s a little darker than Darken.
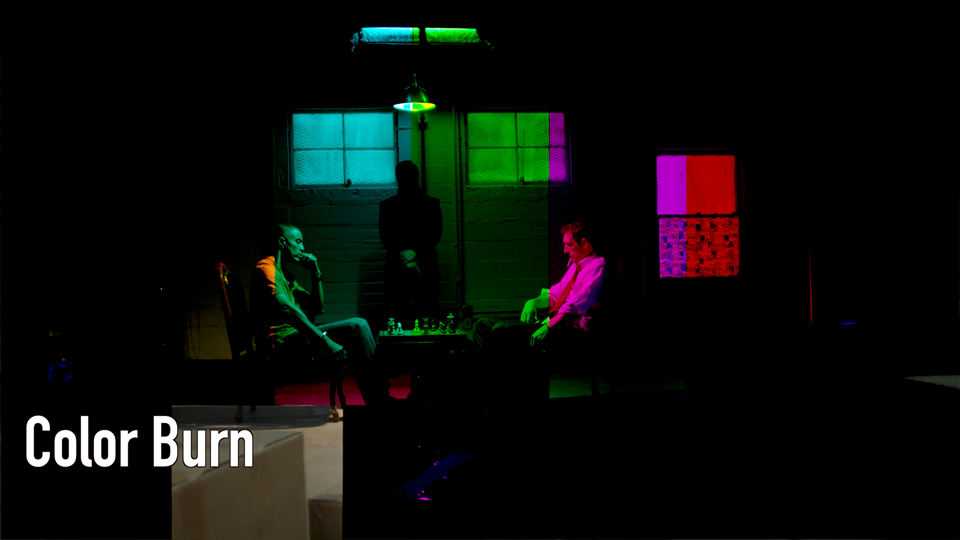
Color Burn
The burns and dodges harken back to the photo-chemical darkroom era. “Burning,” makes your images darker and “dodging” makes them lighter.
A Color Burn takes the negative values of the bottom layer and divides it by the top layer, then inverts the result. The final image yields a stronger effect when the bottom image is darker. Using a washed out image with a high concentration of white pixels will produce less noticeable results.
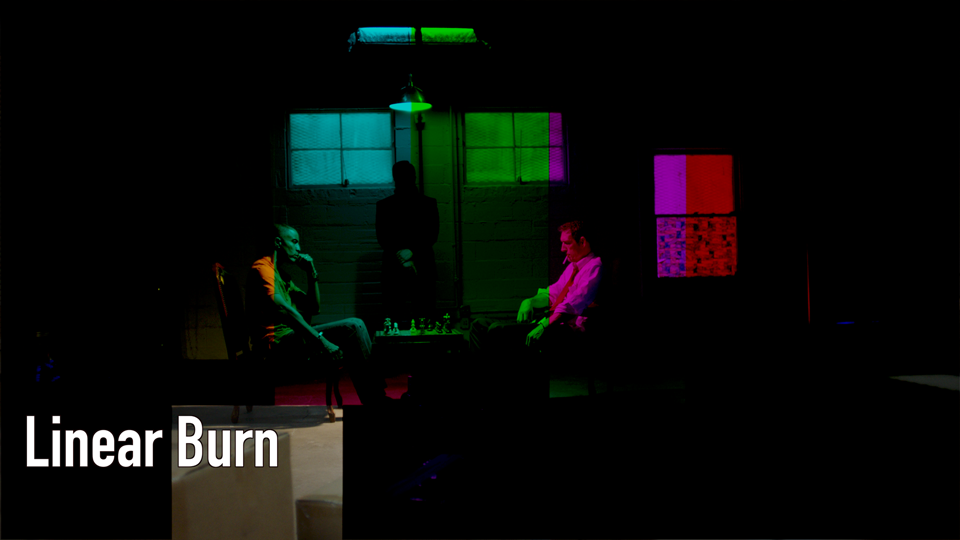
Linear Burn
Each pixel value is added together and then reduced by 1. Blending with lighter images will produce less noticeable results.
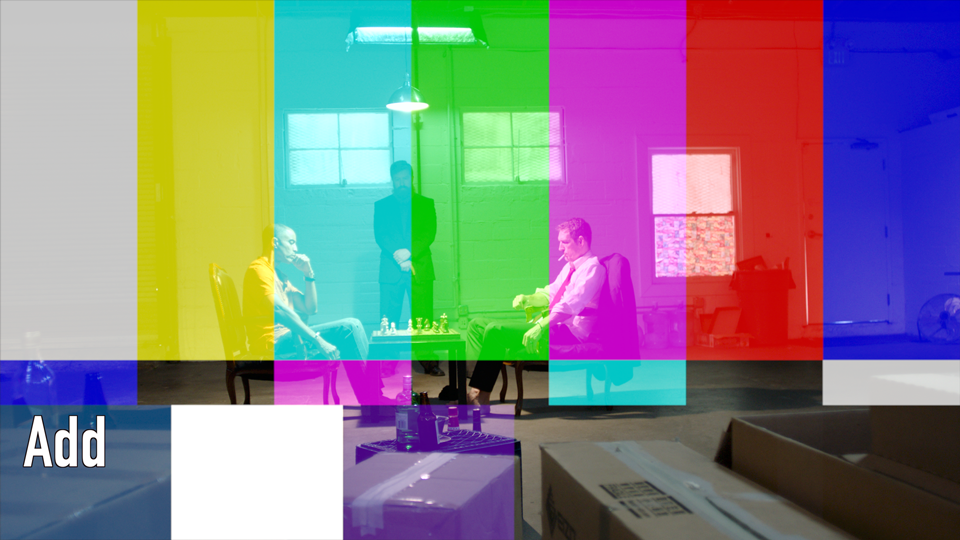
Add
Pixel values of the top and bottom layer are simply added together, the opposite of subtract.
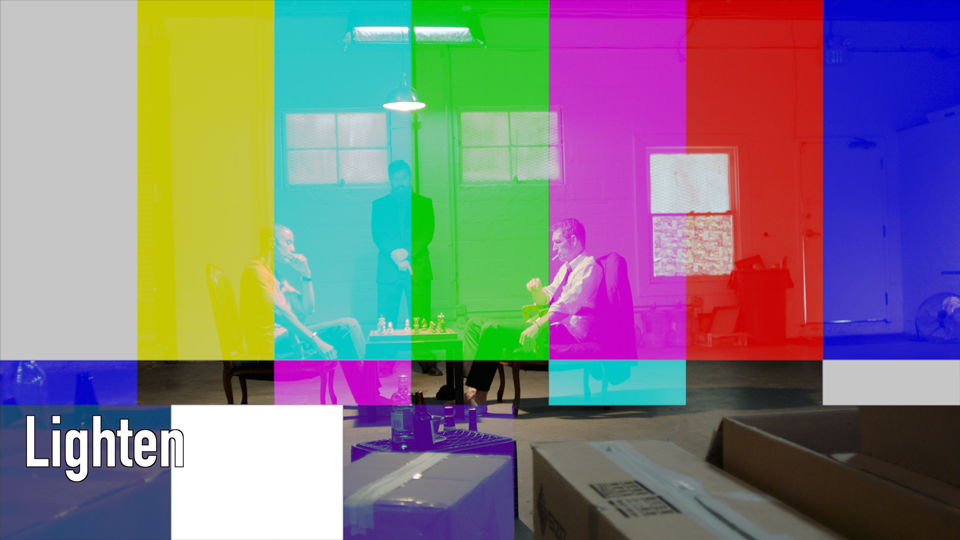
Lighten
This blend mode compares the color values of each pixel from both layers and then chooses the lighter ones resulting in a brighter image. This mode is the mirror opposite of the Darken mode.
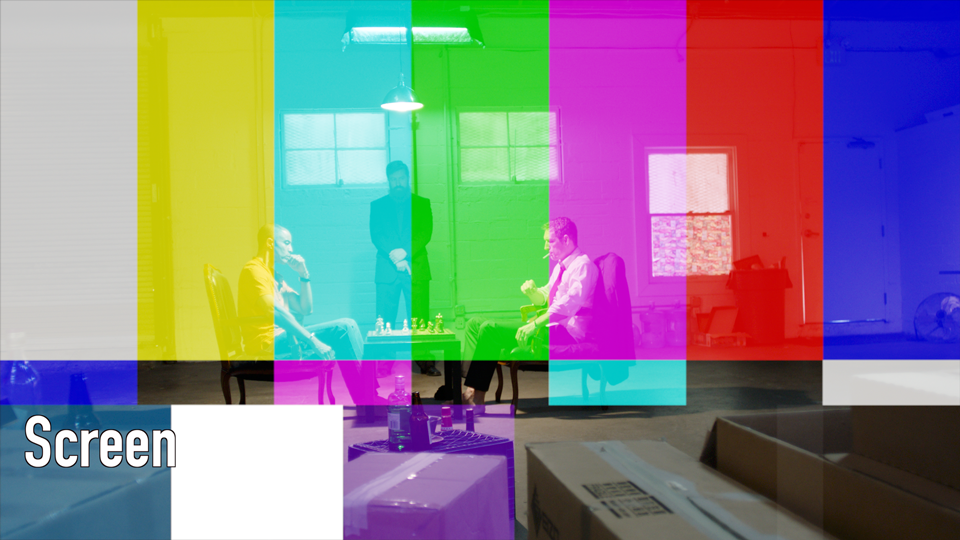
Screen
Screen basically treats the dark pixels of the top layer like an alpha channel, then blends the lighter colored pixels with the bottom layer.
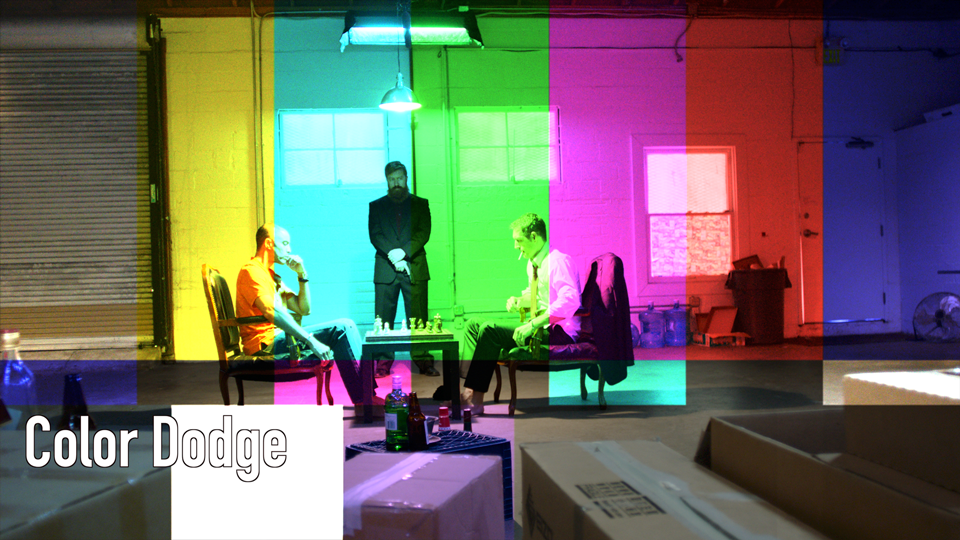
Color Dodge
This mode is essentially the opposite of Color Burn, whereas the bulk of the color processing now occurs through the top layer where the white pixels of the underlying layer are scaled up making the image brighter.
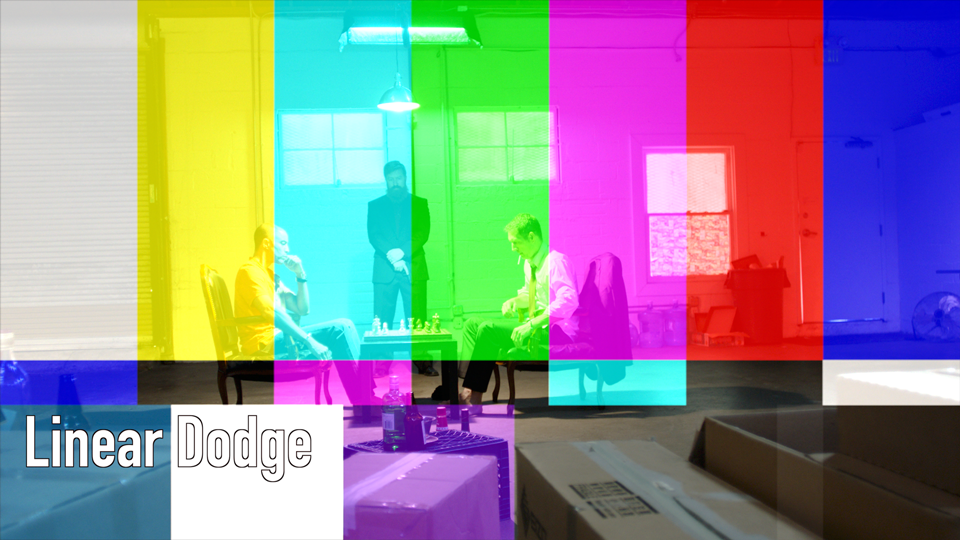
Linear Dodge
Linear Dodge just adds the values of each corresponding pixel from the top and bottom layer.
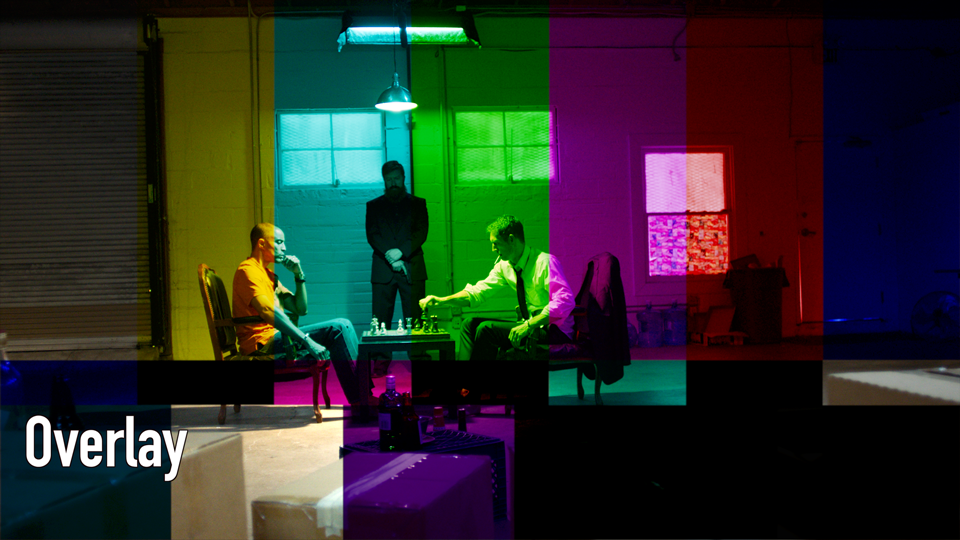
Overlay
Overlay favors the luminance values of the bottom layer, so the top layer gets brighter where the bottom layer is bright, and gets darker where the bottom layer is dark. This mode is a combination of Screen and Multiply.
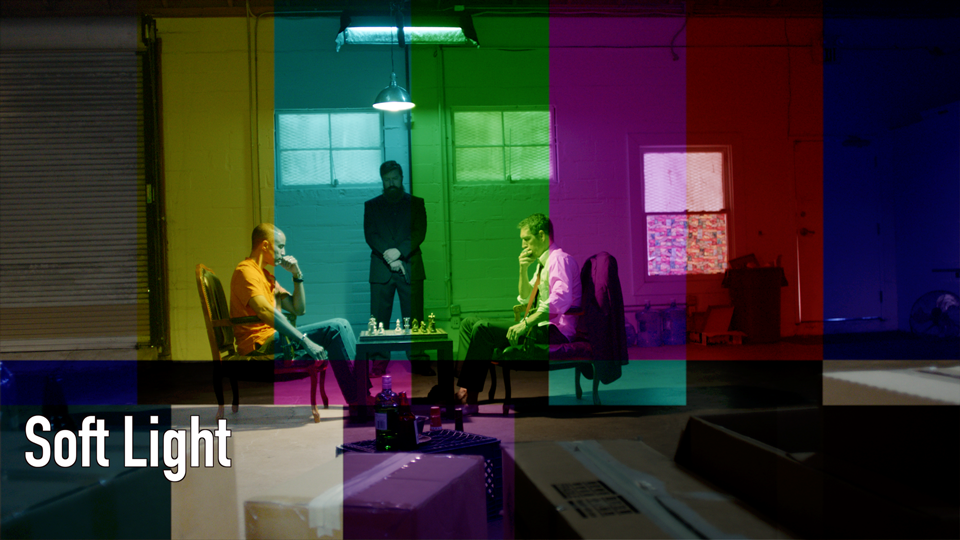
Soft Light
This blend mode is much like overlay, however the luminance values of the top layer are preferred. Luminance values above 50% gray will be lightened and values below 50% gray will be darkened. The result is a somewhat gentler lighting effect.
Hard Light
The math behind this blend mode is much like soft light but with more emphasis on the top layer.

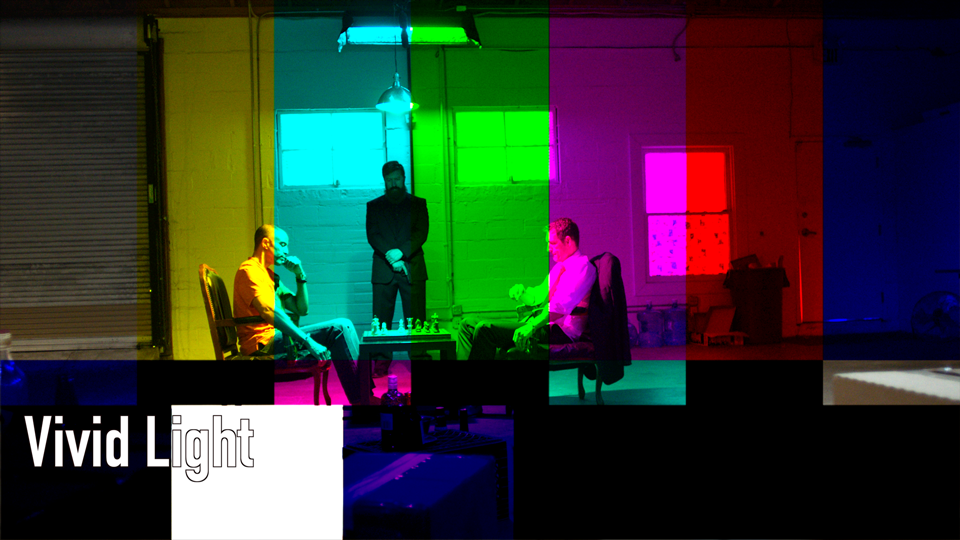
Vivid Light
Vivid light is an odd mix of Color Dodge and Burn. When pixels of the top layer are brighter than neutral grey, they are dodged (made lighter), but when they’re darker than neutral grey they are burned. This results in a something similar to a high contrast version of Overlay.
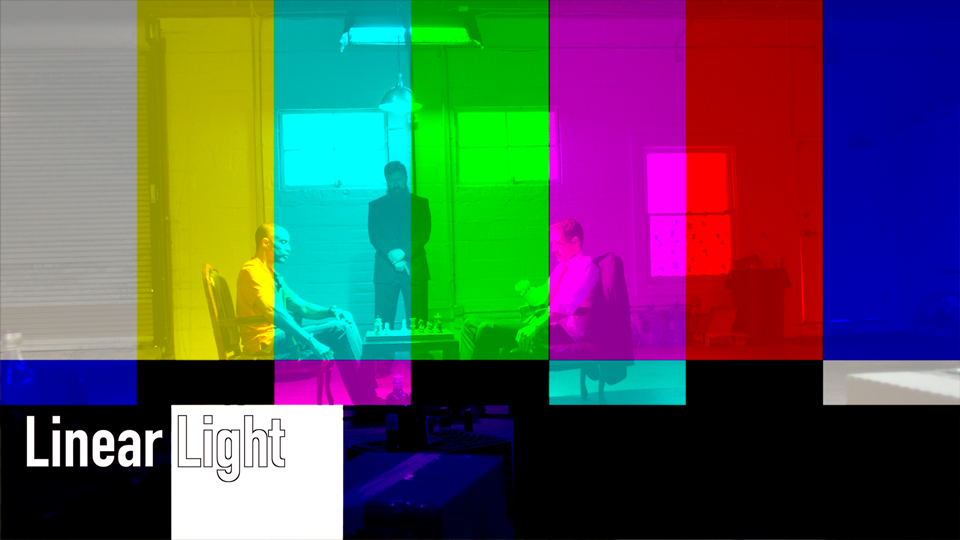
Linear Light
This mode is functionally very similar to Vivid Light, but with a much milder contrast curve
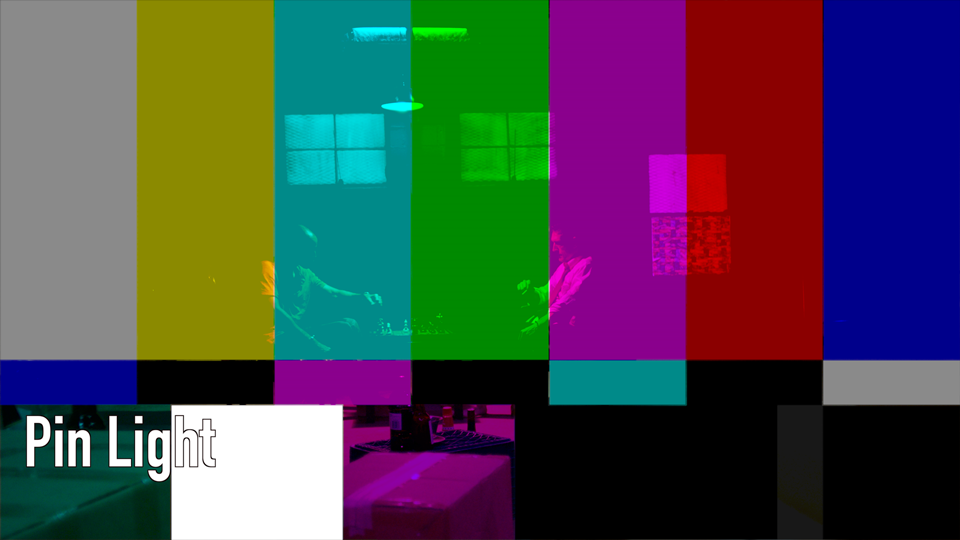
Pin Light
Pin Light is similar to Hard Light but with a milder contrast curve.
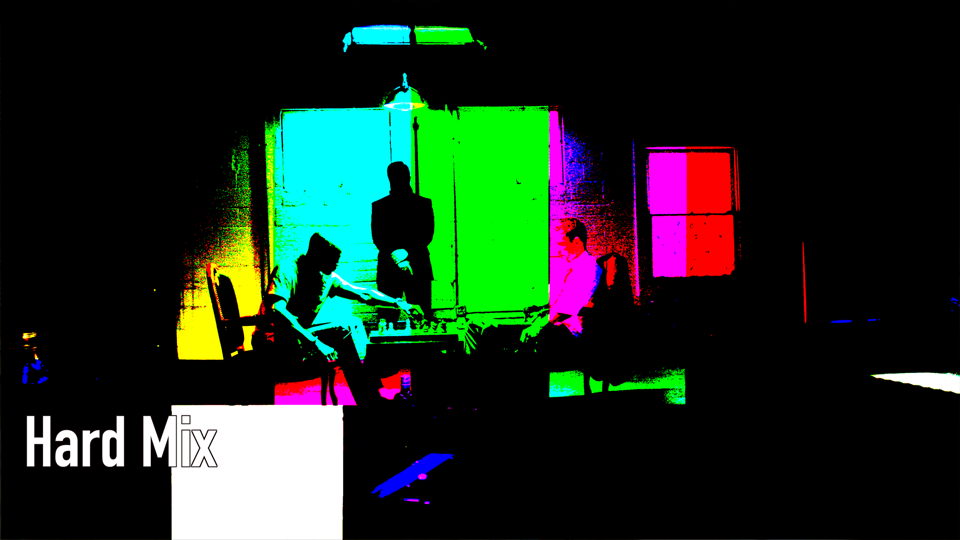
Hard Mix
Hard mix really cranks hard on the contrast curve. It produces an even blend of the top and bottom layers by looking at the blended value of each pixel, then pushing the RGB value to the max (255 or higher); or an RGB value of 0 if the pixel is 254 or lower.
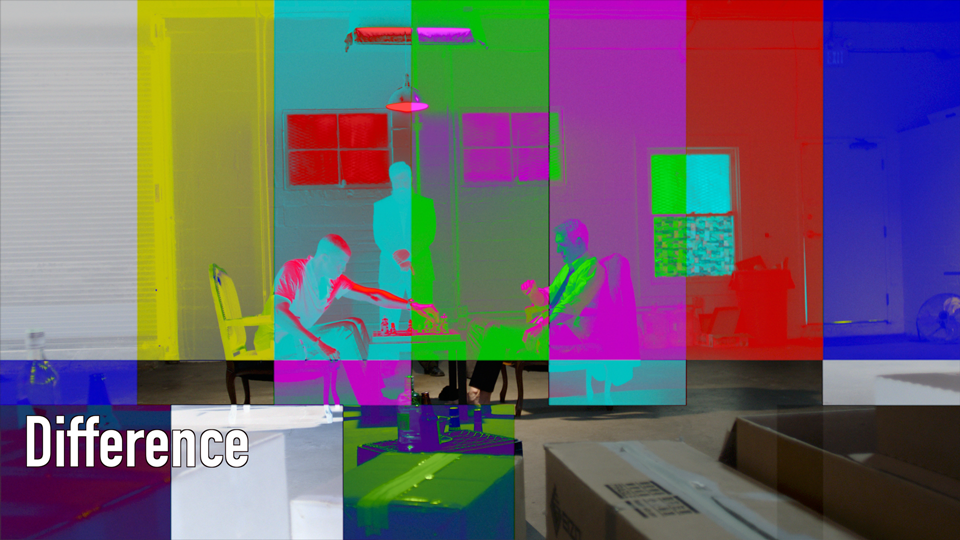
Difference
Difference mode is always looking for a positive value, so it will subtract the bottom layer’s pixel values from the top or the top layer’s pixel values in order to achieve a net positive number. In other words, it seeks to replace black pixels with any other color if possible. Blending with white produces a photo negative effect.
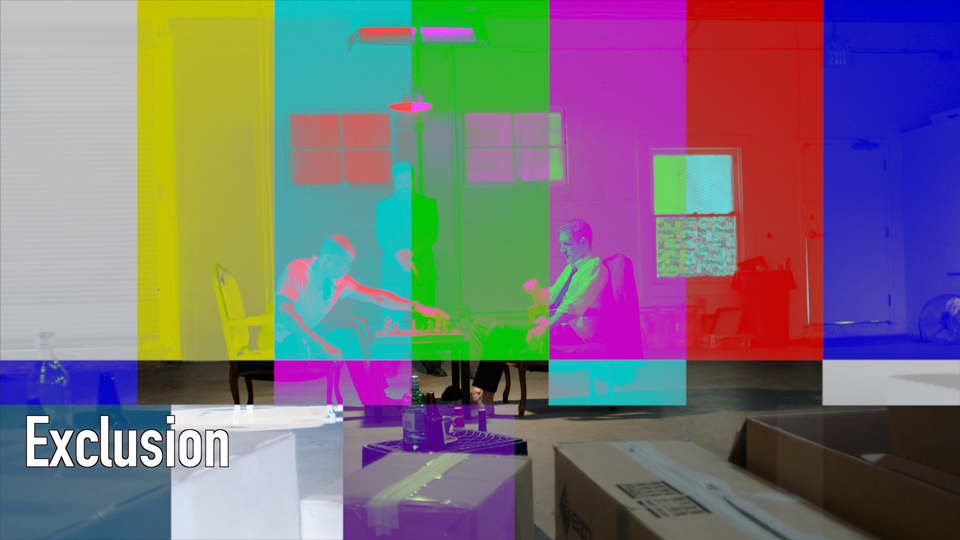
Exclusion
Exclusion is almost identical to Difference, but with a milder contrast curve.
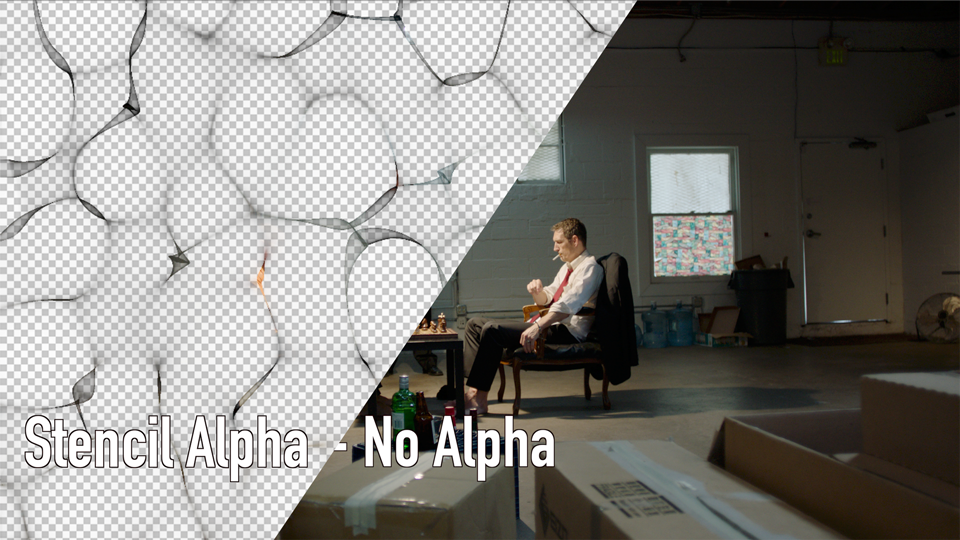
Stencil Alpha
This mode requires an alpha channel in the top layer to create the blended image. Without an alpha channel, there will be no change. When an alpha channel is present, the pixels from the bottom image are mapped to the opaque pixels of the top image.
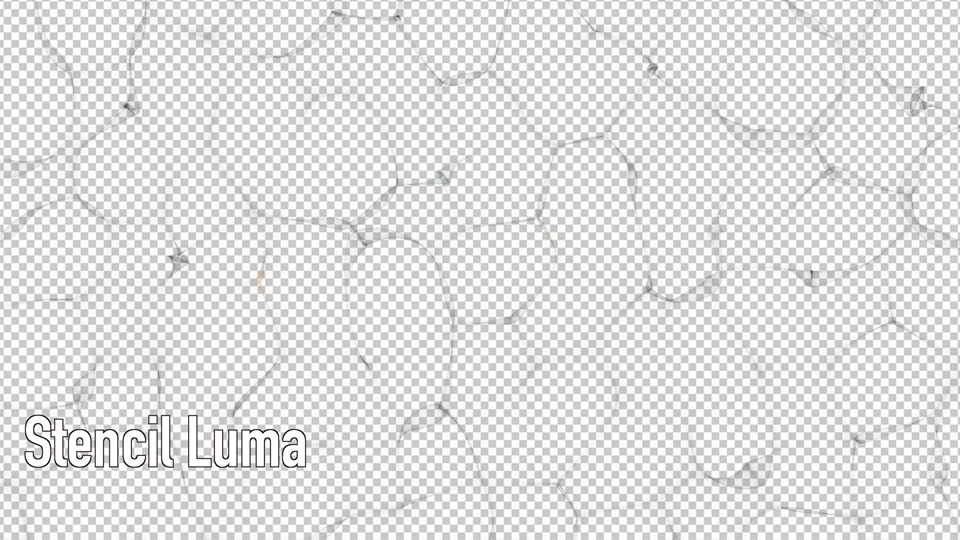
Stencil Luma
Stencil Luma creates almost the same effect as stencil alpha, but instead of needing a pre-baked Alpha channel in the top image, it treats the darker pixels as transparent.
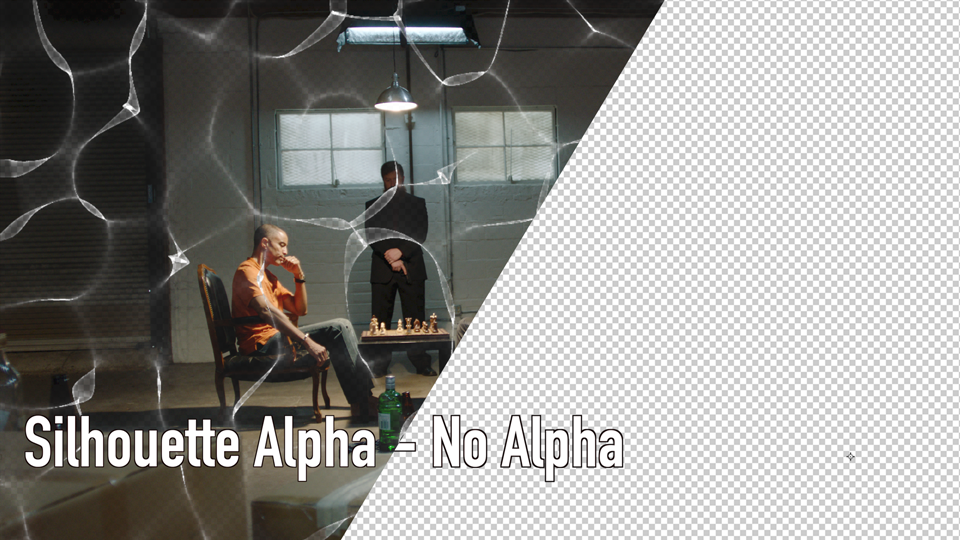
Silhouette Alpha
This one is the inverse of Stencil Alpha, in other words, the top layer’s alpha channel behaves normally, and all of the opaque pixels are used to map an alpha layer to the bottom layer.
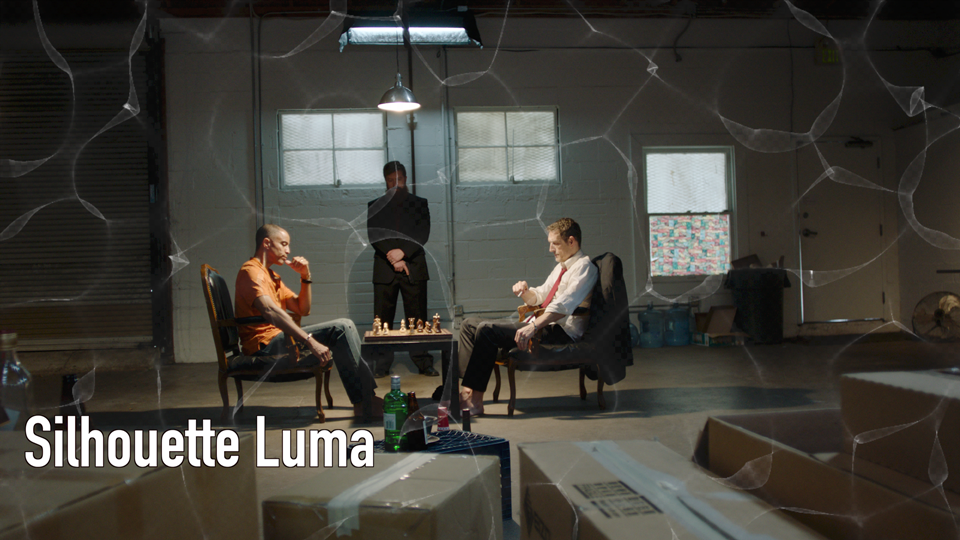
Silhouette Luma
Silhouette Luma is just like Silhouette Alpha, except it uses the top layer’s opaque pixels to map an alpha channel to the bottom layer.
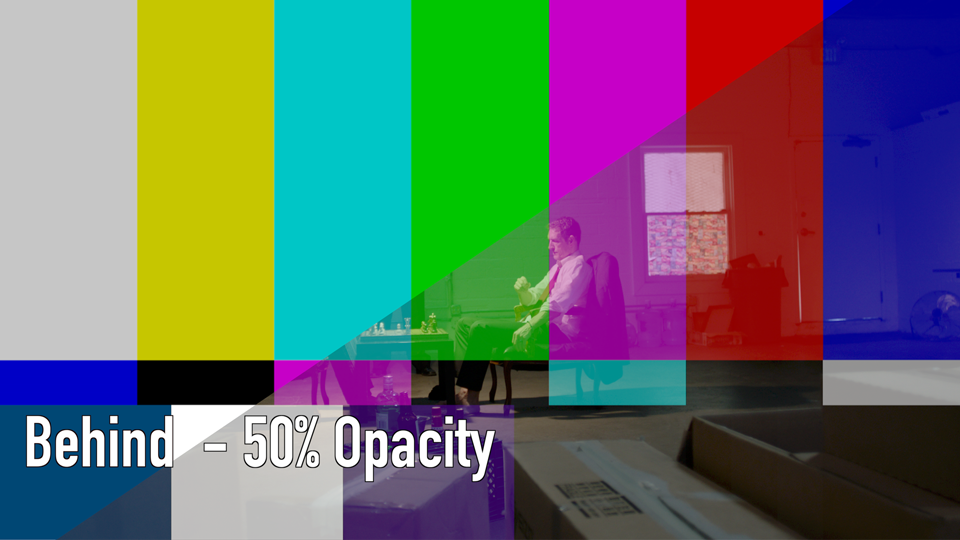
Behind
This blend mode is just like Normal, however it switches the layer order, so that the top layer will act like the bottom layer and vice versa.
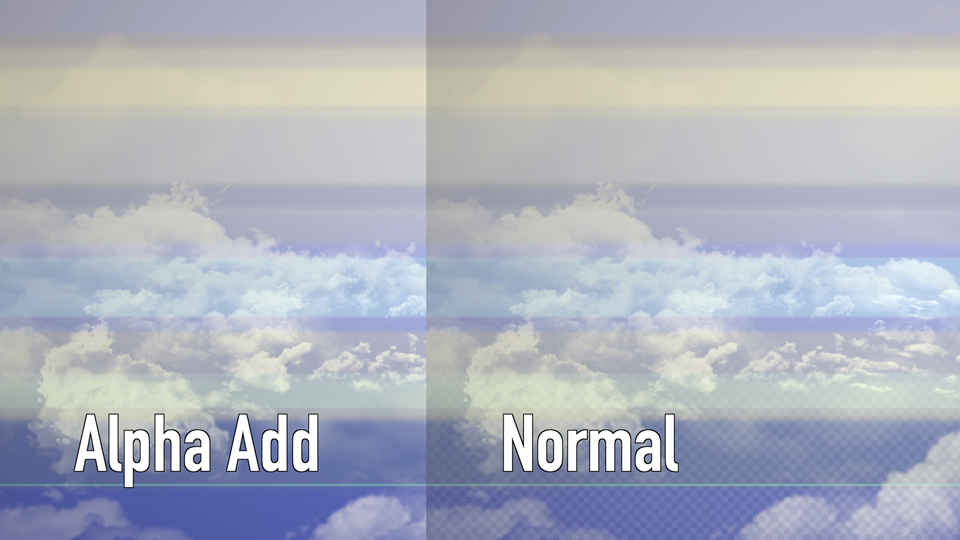
Alpha Add
I couldn’t find much documentation on this one, but from playing around with it, I think it’s intended to slightly boost the luminance values when blending with an alpha channel, which will offset any perceived image darkening that can occur when blending images.
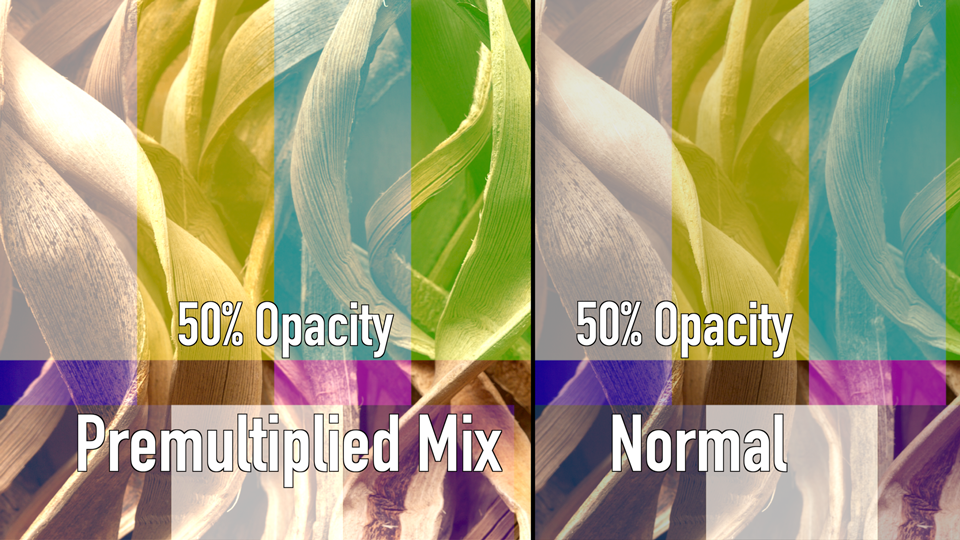
Premultiplied Mix
Again, not much out there on this one, but it seems to serve a very similar purpose to alpha add, however without the dependence on an alpha channel. This will give you a cross fade very similar to normal, but with a very subtle luminance boost. Just like a normal dissolve, this one requires some opacity adjustment.
Bonus Prize
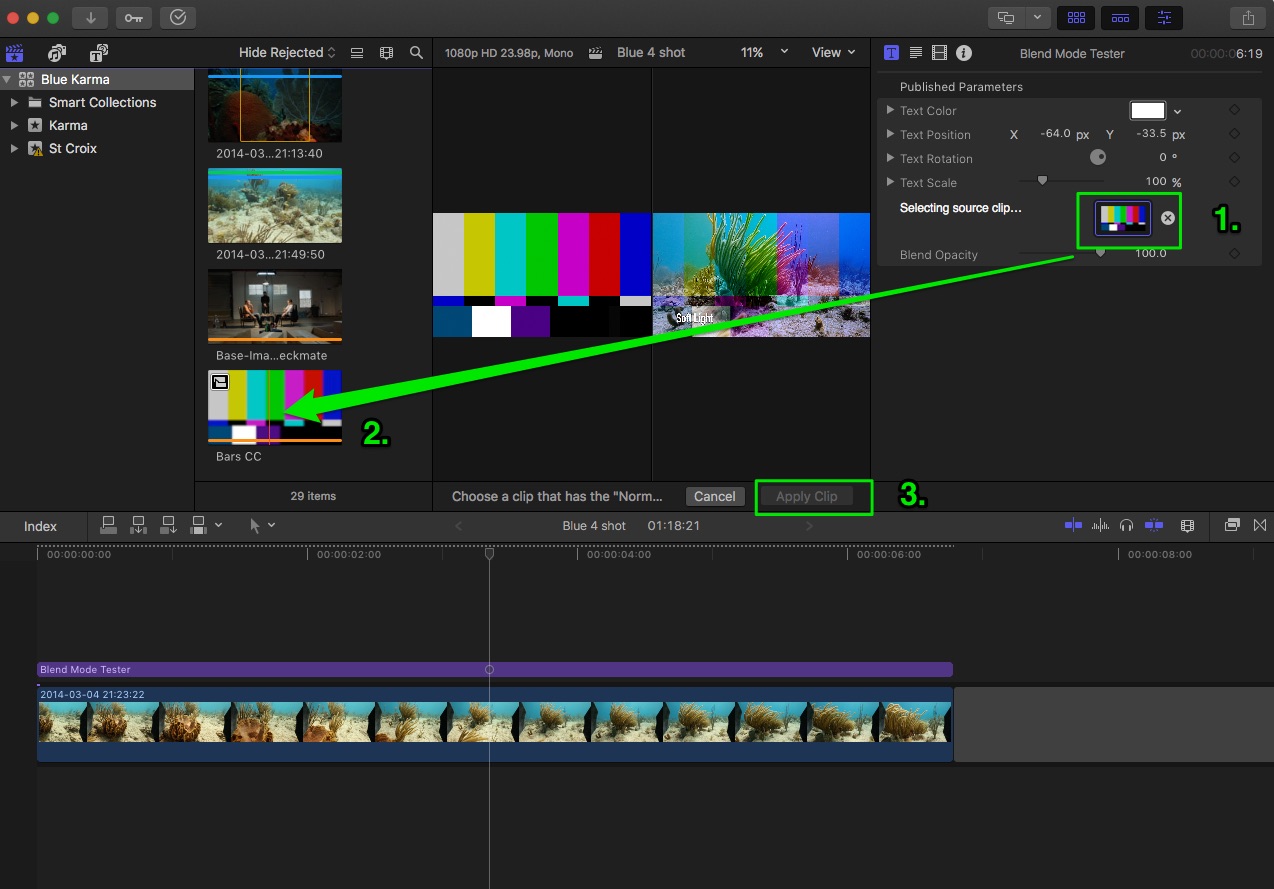
Because you made it to the end of the article, I have a treat for you. Below is a free Blend Mode Tester for Final Cut Pro X. Simply connect it as a title above the clip you want to test the blend mode on, then add the clip you want to blend into the drop well, hit apply and play through the composite. You’ll be treated to a 2 second preview of the each blend mode. There are a couple of quirks:
- Items in the Drop Zone will be previewed as a still image, and sometimes the drop zone has trouble using clips from the browser. If you run into that, just add the clip/still/generator to your timeline and add it to the Drop Zone from there.
- Alpha Add, Premultiplied Mix, and Behind don’t demonstrate very well, so I chose not to include them.
Enjoy!
For further reading/more detailed descriptions of various blend modes and the math involved check out these other articles:


