Using the Video in Text plugin for Final Cut Pro X:
After installing, follow these steps to apply the Video in Text to the Final Cut Pro X timeline:
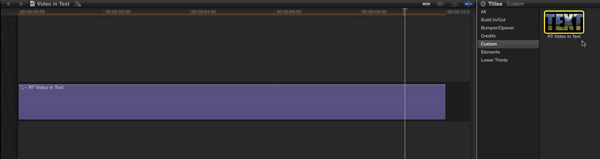
Click the Titles button on the Toolbar to open the Titles Browser. In the Custom category, locate the RT Video in Text title, then drag it or double-click it to add it to the Primary Storyline. Titles appear as purple clips in Final Cut Pro X.
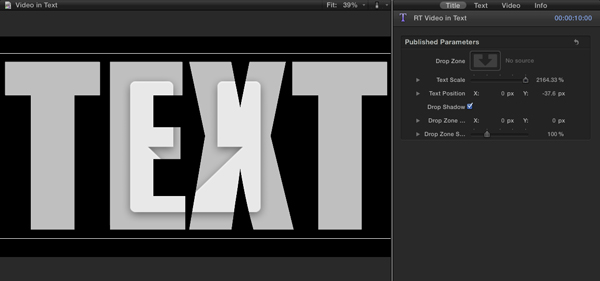
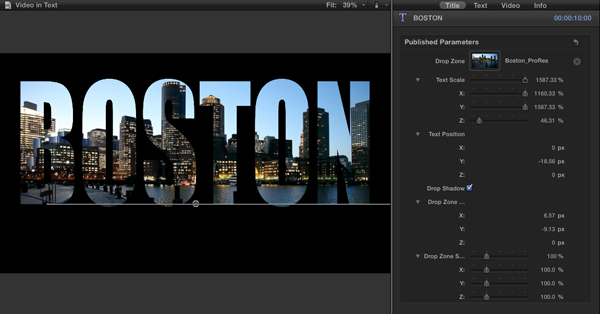
Select the title clip, then press Command-4 to open the Inspector. Click the Title button at the top of the Inspector to reveal the Published Parameters for this title. If you look in the Viewer, the text is already ginormous, ready for you to add the video to the gray drop zone peaking behind the letters.
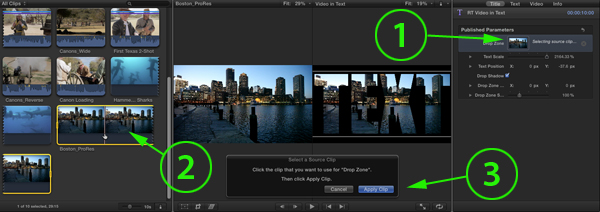
Adding the video to the drop zone is a three step process:
Step 1: Click the drop well in the Inspector
Step 2: Click the video thumbnail you want to use in the Media Browser.
Step 3: Click the Apply Clip button
To change the text copy, double click it. When the text turns light purple, enter your new text.
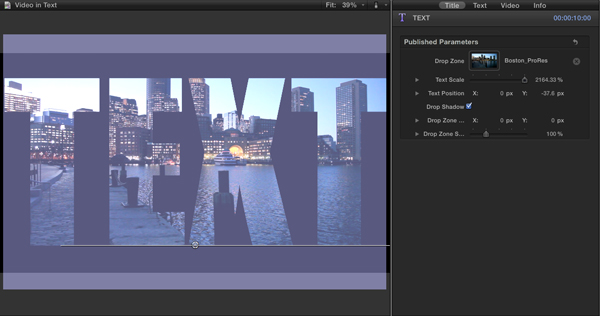
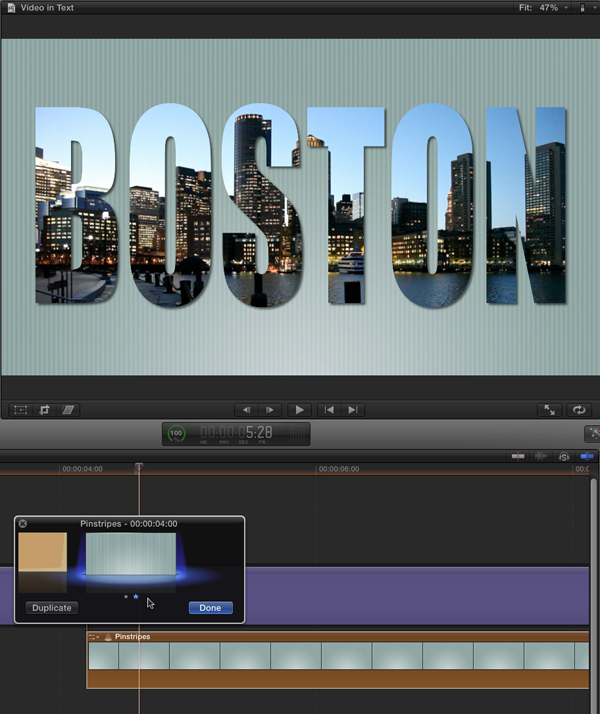
Most of the parameters for changing the text and drop zone are found in the inspector. For example, you can change both the text scale and text position in the Viewer. You can also change the drop zone scale and position. Being able to manipulate the drop zone is important because often the text will cut off portions of the video within the letters and you’ll want to pan or zoom the image behind the text. In the screenshot below, the Boston skyline was moved in a negative direction along the Y axis to keep the tallest building from being cut off by the letter S. If necessary, you can also keyframe these parameters if the framing changes over the duration of the clip.
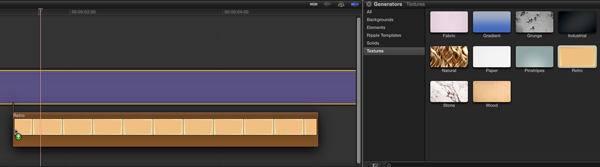
The text title also has an alpha channel in case you want to composite the video-in-text effect over a background. In the Media Browser or Effects Browser, drag the background clip below the title to create a connected clip.
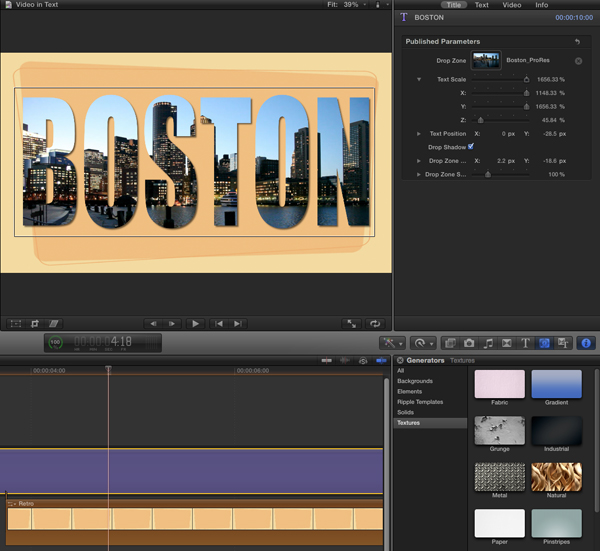
The final composite will look like the screenshot below. We also published a drop shadow to give the text contrast against the background.
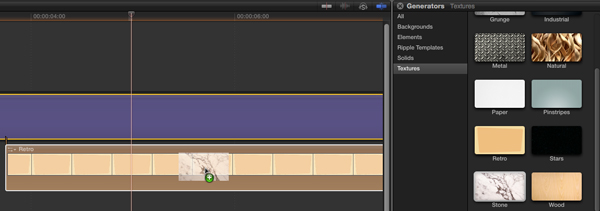
Often when doing composites that involve backgrounds, it’s best to connect the clip below the Primary Storyline. Why is this you ask? Check this out. Drag another clip onto the connected background clip, wait for the clip to turn white and release your mouse.
A menu of options will appear. Choose > Replace and add to Audition.
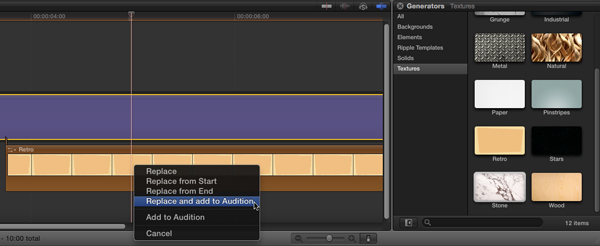
Click the spotlight badge on the clip to bring up the Audition window. You can now experiment with different backgrounds for your titles. By the way, this technique also works the green screen composites. Place your green screen footage (the footage to be keyed) in the Primary Storyline, then connect the background clip and add different backgrounds to the Audition clip. You’ll then be able to “swap out” different backgrounds for your keyed footage. Go Red Sox.
Footage Courtesyt of iStockphoto.com