Using the Picture in Picture plugin for Final Cut Pro X:
After installing, follow these steps to apply the PIP effect in the Final Cut Pro X timeline:
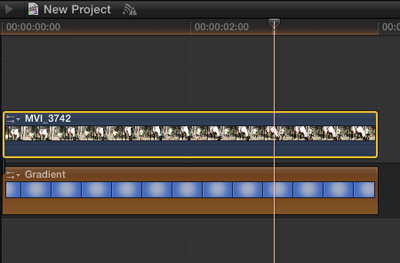
Edit video or a generator into the Primary Storyline to be used as the background image. Connect the video you want to use for the PIP image above the clip in the Primary Storyline.
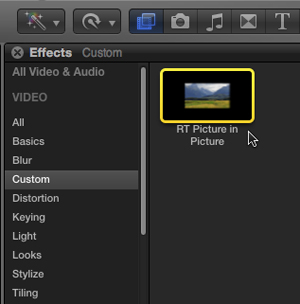
With the connected clip selected, press command-5 to reveal the Media Browser and click the effects button on the toolbar. The Picture in Picture effect is located in the Custom category. Double-click the effect to apply it to the connected clip.
With the connected clip still selected, press Command-4 to reveal the Inspector. The parameter controls for altering the effect appear under the gray bar labeled “RT Picture in Picture”.
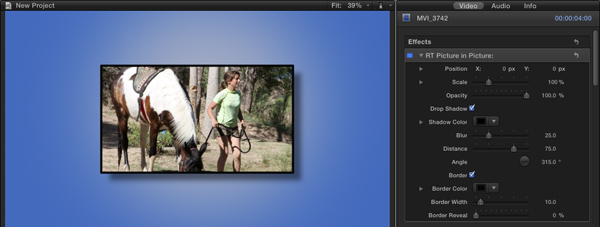
The PIP can be positioned and scaled anywhere on the screen. The drop shadow and border are enabled by default as indicated by their checkboxes. Both the shadow and border have independent parameter controls. Also, most of the parameters can be keyframed.