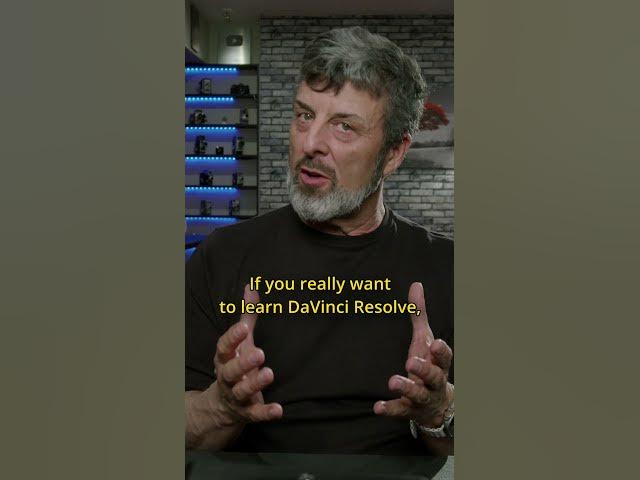

In this video, Mark demonstrates how to approach grading skin tones in Resolve 20, one of the trickier challenges in color correction. When multiple people appear in the same shot with overlapping or mismatched skin tones, getting a natural, consistent look can be difficult without the right approach.
Why Skin Tones Are Hard to Grade
Skin tone is one of the most sensitive elements in any color grade. Viewers notice even small inaccuracies in skin color almost instantly, which makes it far less forgiving than other parts of an image. As a result, a technique that works well for landscapes or general color balance often falls short when applied directly to faces, especially when several people with different skin tones share the same frame.
How Mark Approaches Grading Skin Tones in Resolve 20
Mark walks through DaVinci Resolve 20’s deep color grading toolset, showing how to isolate and adjust overlapping skin tones without affecting the rest of the image. In other words, rather than applying one blanket correction to the whole shot, you’ll learn how to target specific tonal ranges with precision. This course, Color Grading in Resolve 20, is built around exactly this kind of real-world grading challenge.
Throughout the tutorial, Mark also focuses on speed. Consequently, you’ll come away not just knowing how to fix overlapping skin tones, but how to do it efficiently, without slowing down your overall workflow.
Why This Skill Matters
Once you’re comfortable grading skin tones in Resolve 20, you’ll be equipped to handle one of the more demanding parts of color correction with confidence — whether you’re working on interviews, group shots, or any footage with multiple subjects in frame.
Watch the Full Tutorial
Ready to dive deeper? Check out the full Color Grading in Resolve 20 course to build out your color grading skills from the ground up.
Time Stamps:
00:00 – Mark Intro
01:05 – Why ColorSlice won’t work
01:23 – Using an HSL Qualifier
01:59 – Using AI Magic Mask 2
02:59 – Using Magic Mask 2 with a Qualifier
03:55 – Using the Offset Wheel for Fine Tuning
04:11 – Using a Layer Mixer Node