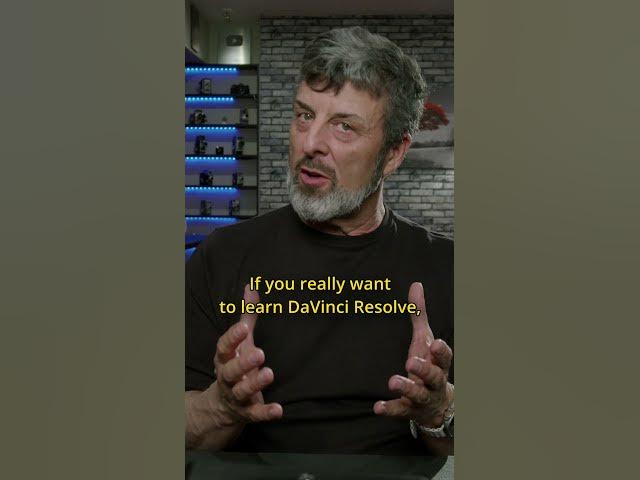

In this video, Mark shows you how to tackle shot matching in DaVinci Resolve. This is one of the most essential skills in color correction — without it, footage from different cameras, lenses, or lighting conditions can look jarring when cut together.
Why Shot Matching Matters
When you shoot with multiple cameras, or even the same camera across different setups, color and exposure rarely match perfectly straight out of the box. As a result, cuts between shots can feel inconsistent, pulling viewers out of the story. Shot matching in DaVinci Resolve solves this by giving you the tools to bring every shot into visual alignment.
How Mark Approaches It
Mark walks through his process step by step, starting with identifying the reference shot you want the rest of your footage to match. From there, he demonstrates how to use Resolve’s scopes and color tools to compare shots side by side. In other words, rather than matching by eye alone, you’re using objective data to guide your adjustments.
Throughout the tutorial, Mark also covers common pitfalls editors run into when color matching — for example, over-relying on a single tool instead of cross-checking with scopes. Consequently, following his workflow helps you avoid corrections that look right on your monitor but fall apart on a different display.
Watch the Full Tutorial
Once you’ve got the basics of shot matching in DaVinci Resolve down, consistent, professional-looking color becomes far easier to achieve across an entire project. Want to build on these skills? Check out our full DaVinci Resolve tutorials to keep learning.
Timestamps:
00:00 – Intro
01:27 – Shot Matching
08:07 – Outro