Final Cut Pro plugins personally created by Steve and Mark
Exclusive RippleLIVE Plugins
Useful • Versatile • Time Saving
-
Sale!

RT Plugins Bundle
The entire set of RippleLive Plugins designed for a variety of creative tasks in Final Cut Pro, for one low price.
RT Arrows
RT Arrows is a set of 39 title templates for Final Cut Pro that give you the ability to add customizable animated arrows to videos, photos, and other visuals.
RT Markups
RT Markups is a collection of 26 title templates that allow you to quickly emphasize or exclude text and other on-screen objects.
RT Tracking Essentials
RT Tracking Essentials is a collection of 9 titles and 3 effects that are specifically designed to work with Final Cut Pro’s object tracker.
RT TimeWarps
RT TimeWarps is a collection of 5 plugins that add frame rate, motion blur, strobe, trail and echo effects to your footage.
RT Shortcuts
RT Shortcuts is a Final Cut Pro title plugin that allows you to quickly add keyboard shortcut graphics to your tutorials and how-to videos.
RT Transmations
RT Transmations makes it fast, easy, and fun to animate your text, logos, graphics, or any connected clip placed over your video.
RT Paths
RT Paths is a set of templates that allow you to add adjustable path animations to your videos.
RT Messages
RT Messages make it fast and easy to add animated text messages to your videos.
RT Punch-Ins
RT Punch-Ins is a set of Final Cut Pro templates that allow you to quickly create animated zoom and pan effects on videos and photos.
RT Flyers
RT Flyers is a set of Final Cut Pro transitions that allow you to graphically transport your viewers from one location to another.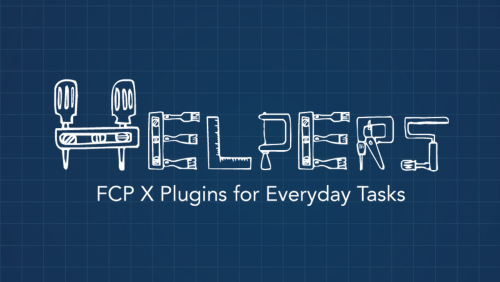
RT Helpers
RT Helpers are a set of 8 highly useful Final Cut Pro plugins for everyday editorial tasks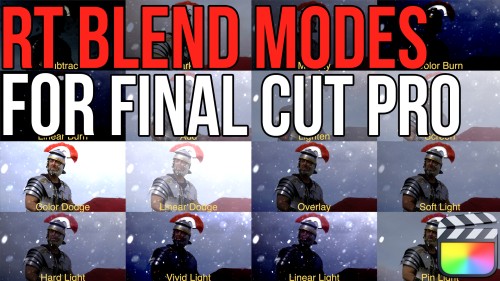
RT Blend Modes
RT Blend Mode is a free Final Cut Pro plugin that allows you to preview, then apply blend modes to your clips
RT Motion Blur
RT Motion Blur is a free Final Cut Pro plugin that allows you to apply realistic motion blur to animated 2D titles, 3D titles, graphics and logos.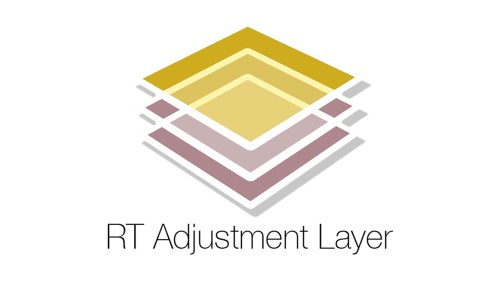
RT Adjustment Layer
RT Adjustment Layer is a free Final Cut Pro plugin that allows you to apply the same color correction, effect, or transformation to multiple clips in the Timeline. It’s also great for creating moveable markers.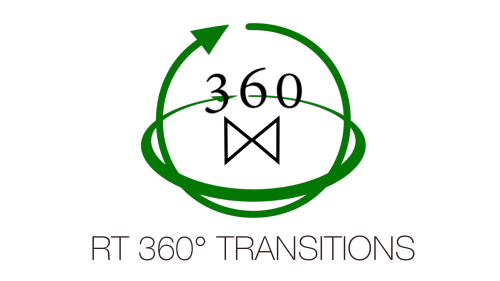
RT 360 Transitions
RT 360 Transitions are a set of 6 free Final Cut Pro transitions that were specifically designed to augment & enhance spherical videos.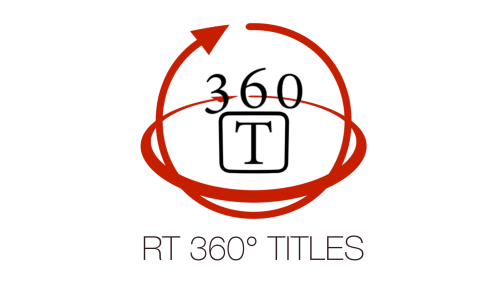
RT 360 Titles
RT 360 Titles are a set of 6 free Final Cut Pro X titles that were specifically designed to augment & enhance spherical videos.
RT Type-On Cursor Plugin
RT Type-On is a free Final Cut Pro plugin that simulates data entry on a computer keyboard.
RT DSLR
RT DSLR is a free Final Cut Pro X Plugin that simulates looking through a DSLR viewfinder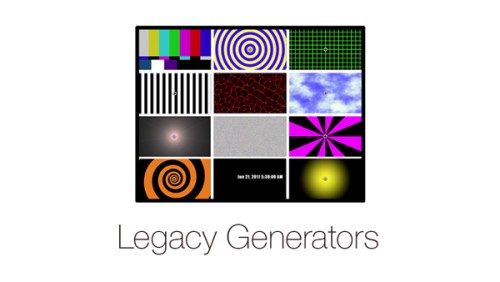
Legacy Generators
A classic set of generators you may recognize from legacy versions of Final Cut Pro
RT Bounce
Apply an animated bounce to your clips with adjustable speed and timing
Glint
Add animated light glints to your 3D titles
Color Balance
Manipulate color balance and contrast using familiar color wheels
Simple 3D Effect
Manipulate video or images along X, Y and Z planesGo to Top